How We Build Our Rifles
ASSEMBLING A BARRELED ACTION - This is the most technical/dangerous phase of building a M14 rifle...you don't wan't to get this wrong! In the photos below, we highlight a few critical steps we take that separates LRB Arms from other M14 builders.

|
|

|
|
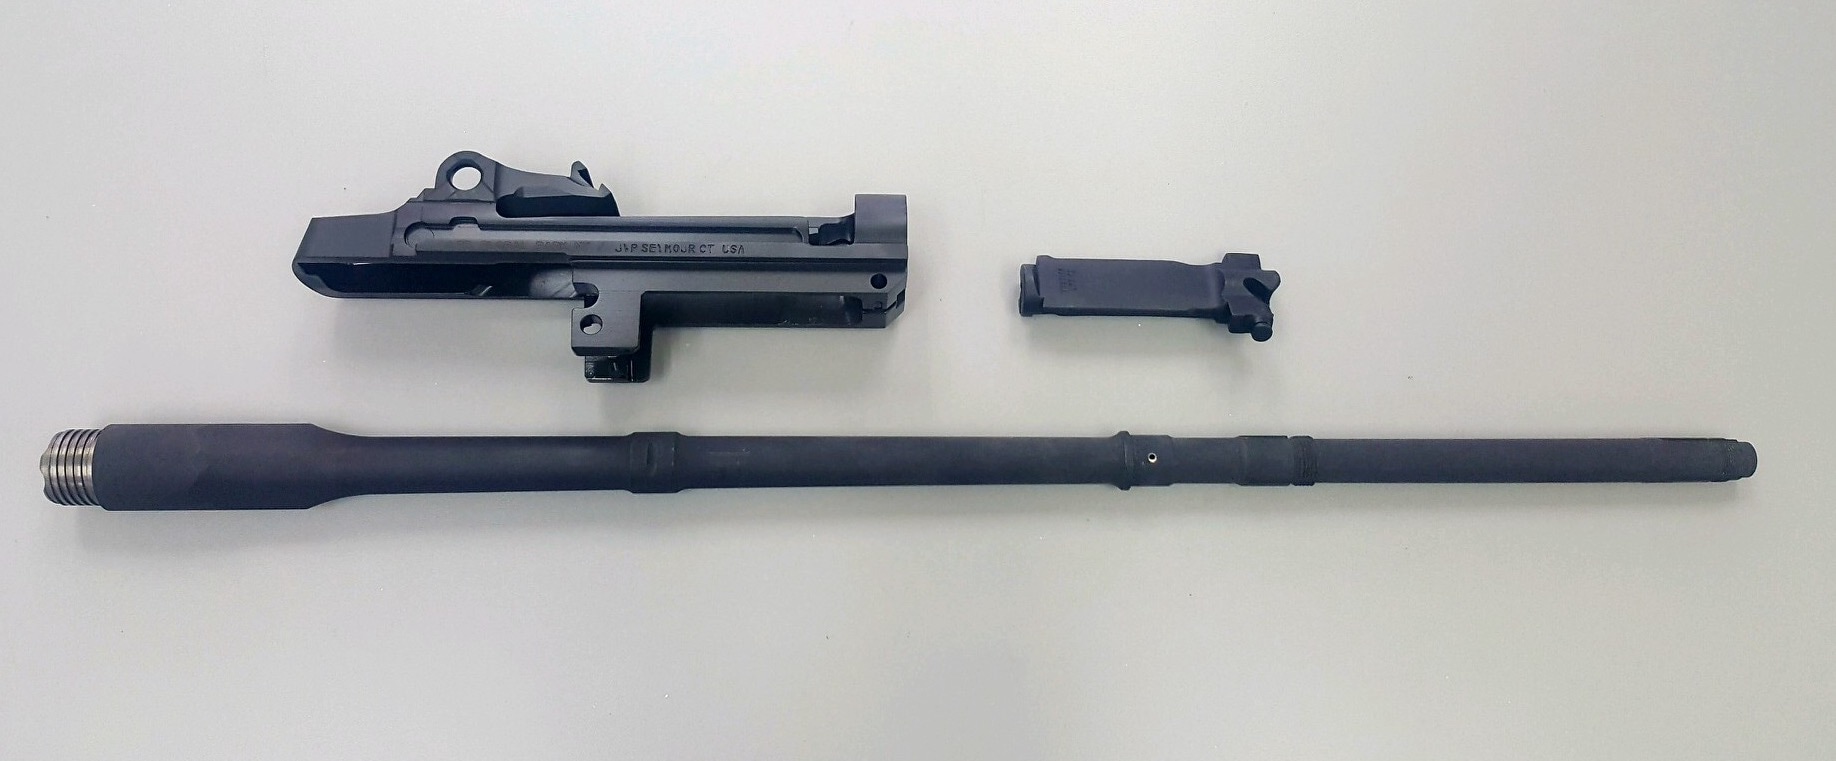
ALL our rifle builds begin by selecting a barrel, bolt, receiver combination which will allow for minimal bolt lapping and correct barrel timing. The M14 is not a rifle with drop in parts...each part requires hand fitting before final installation. Having a parts inventory on hand to pick from, helps.
|
|
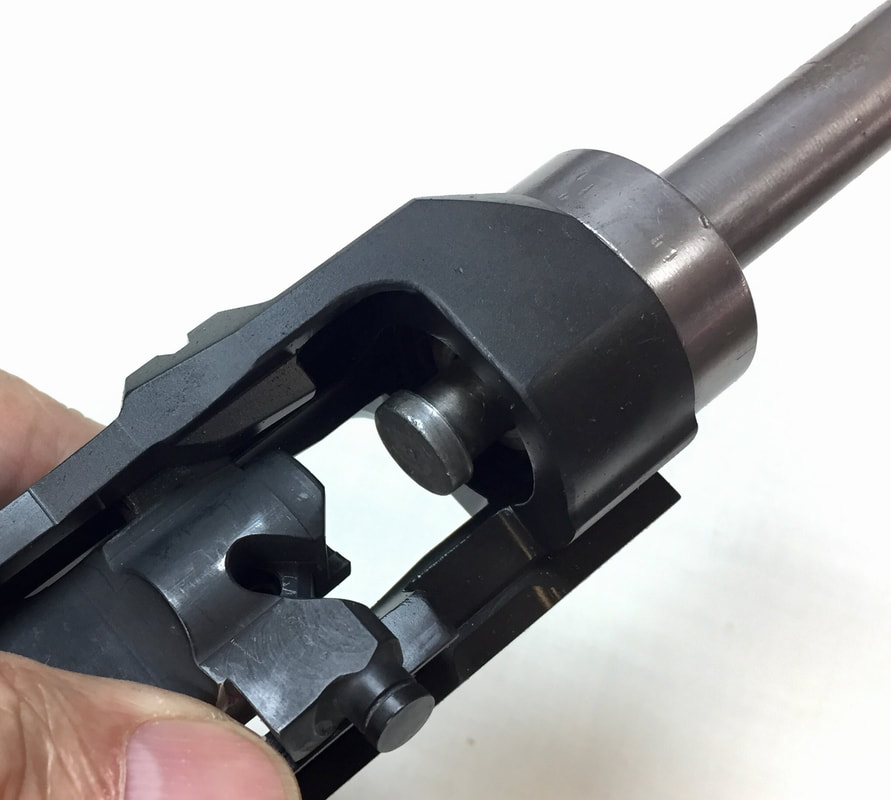
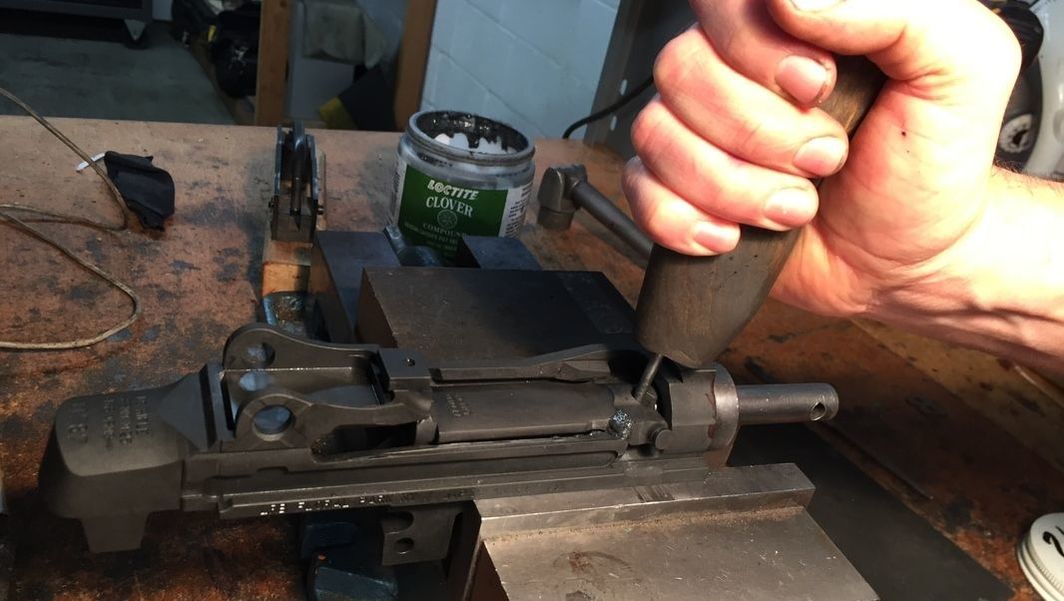
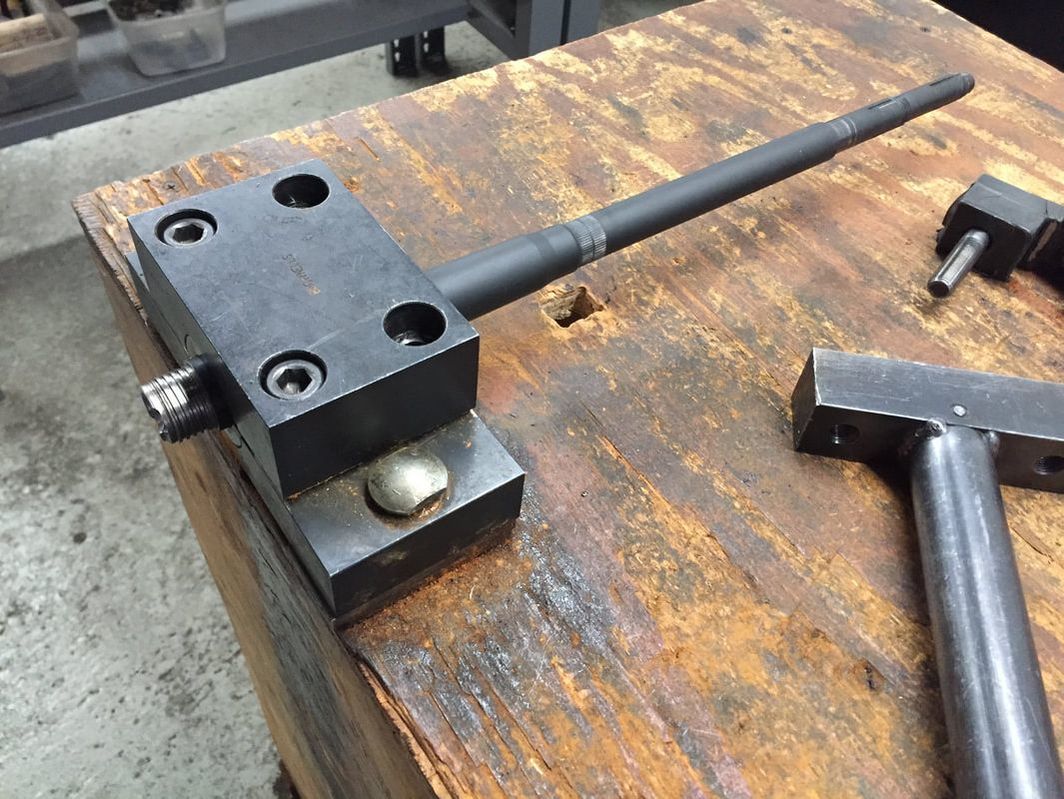
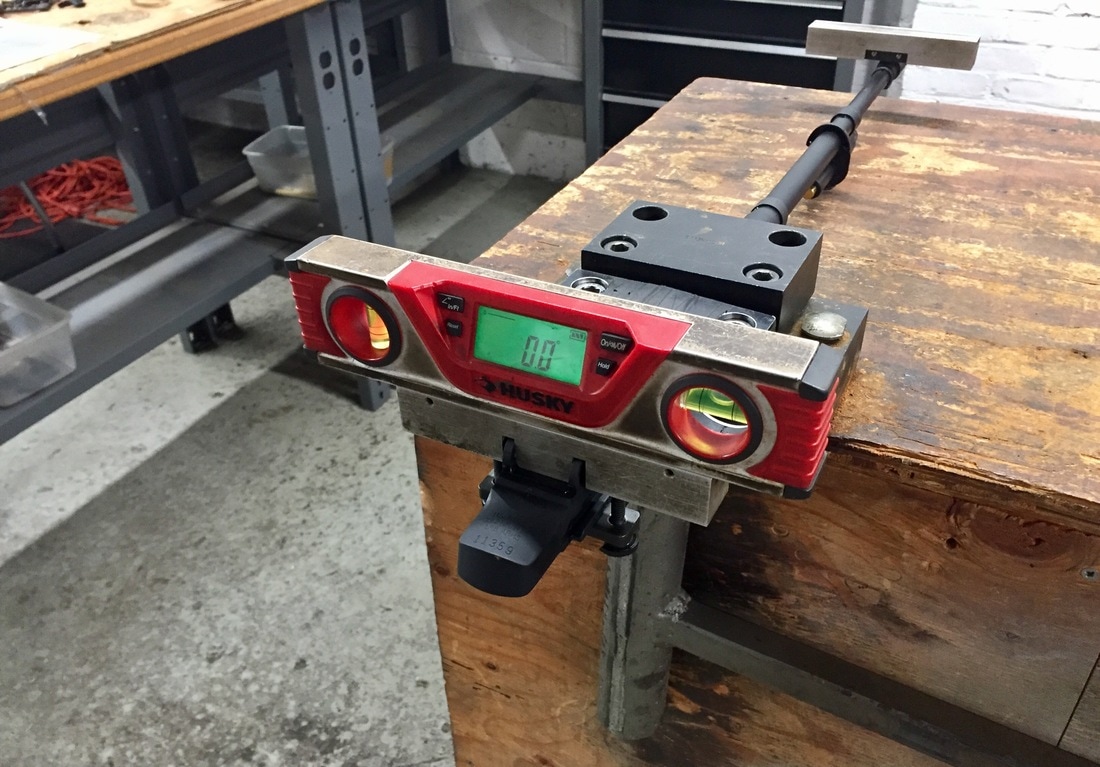
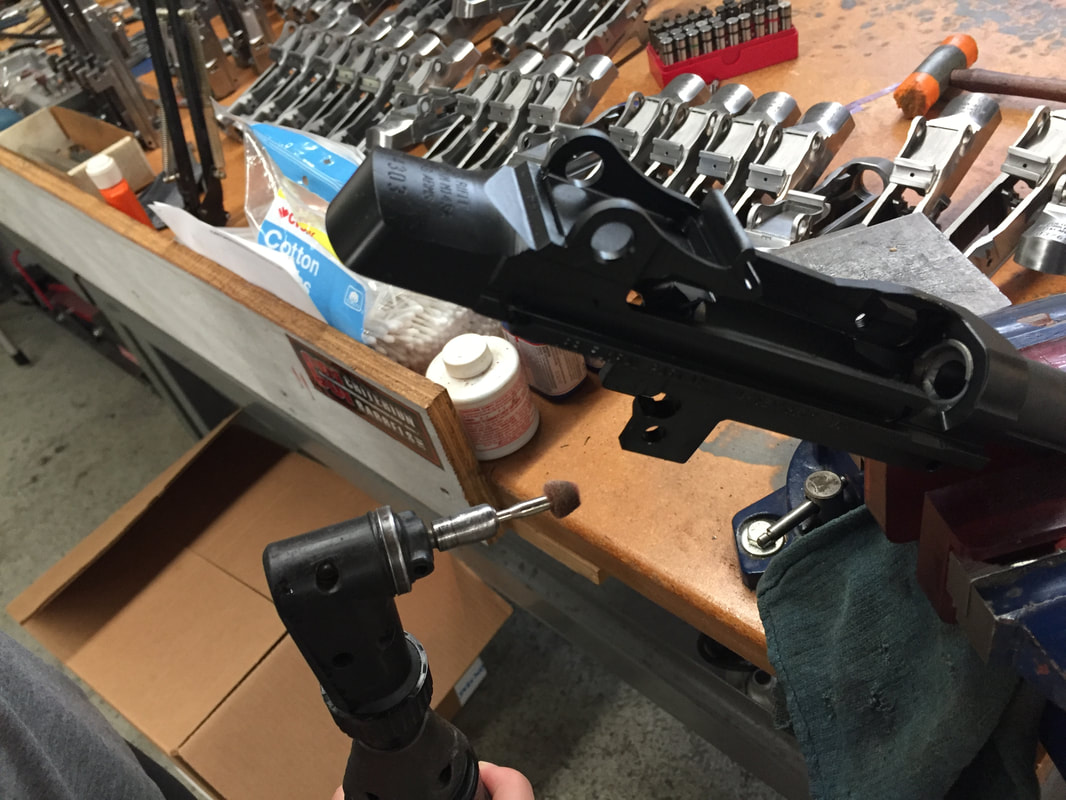
Checking for receiver/bolt lug contact. We use Brownells M14 bolt lapping plunger to apply straight back pressure on lugs.

|
|
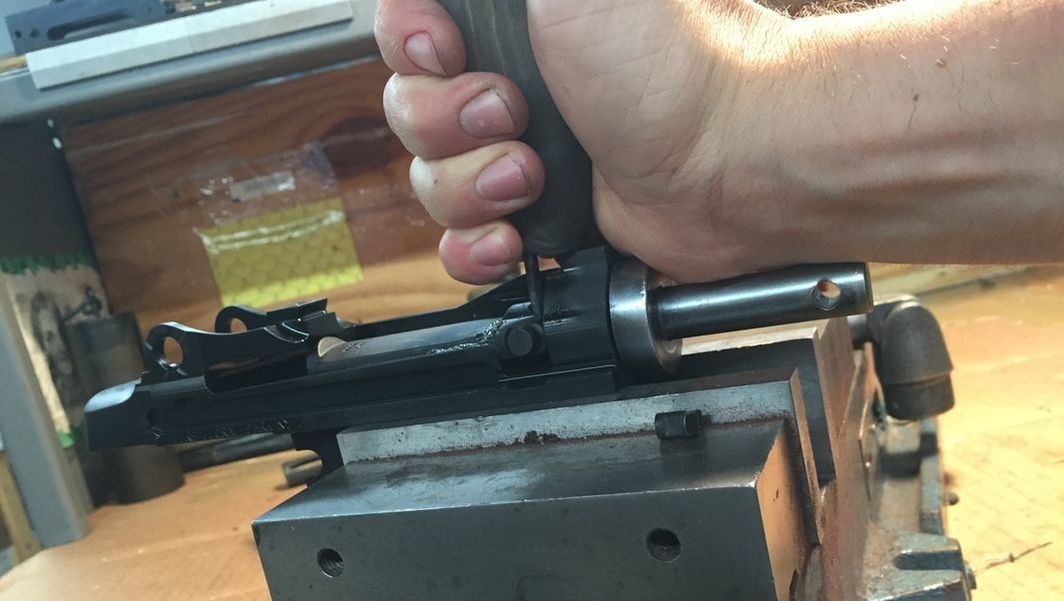
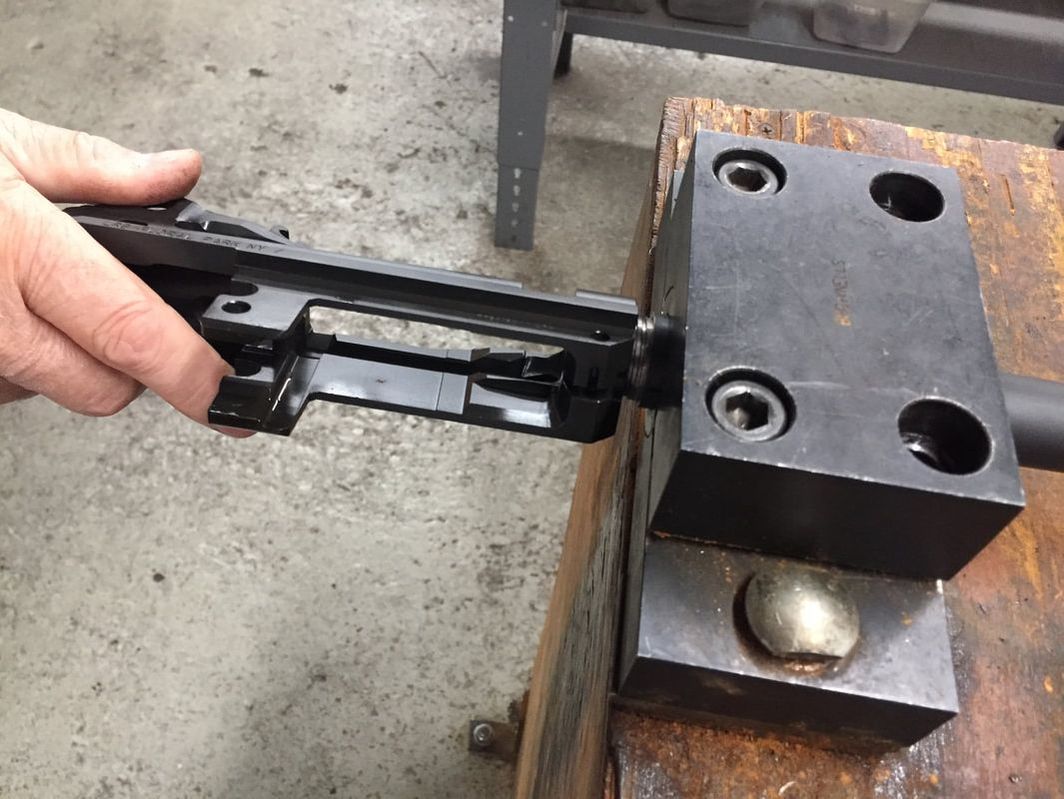
ALL Bolts should be lapped to receiver to achieve even contact on left and right lug. This will assure bolt sits square and on center line with receiver and barrel. We DO NOT lap bolts with a barrel installed. If barrel is not chrome lined, barrel will be installed after lapping is complete and chamber final cut to desired headspace. If barrel is chrome lined, additional lapping is required to achieve desired headspace. We DO NOT ream chrome lined barrels.
|
|
Lugs will show finish wear after lapping.
|
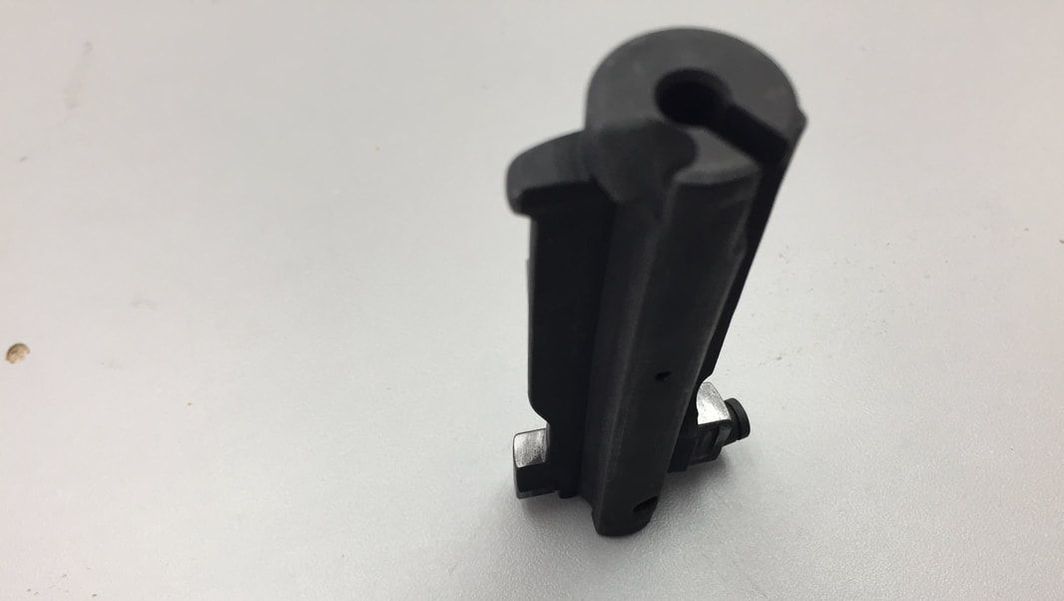
Bolt and receiver lugs will be touched up with cold blue.
|
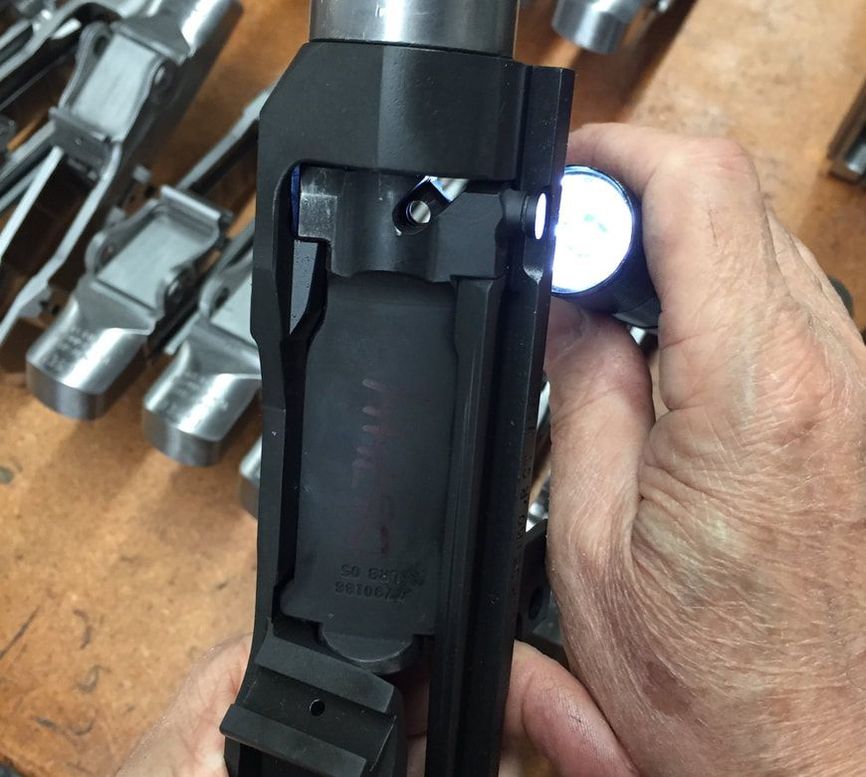
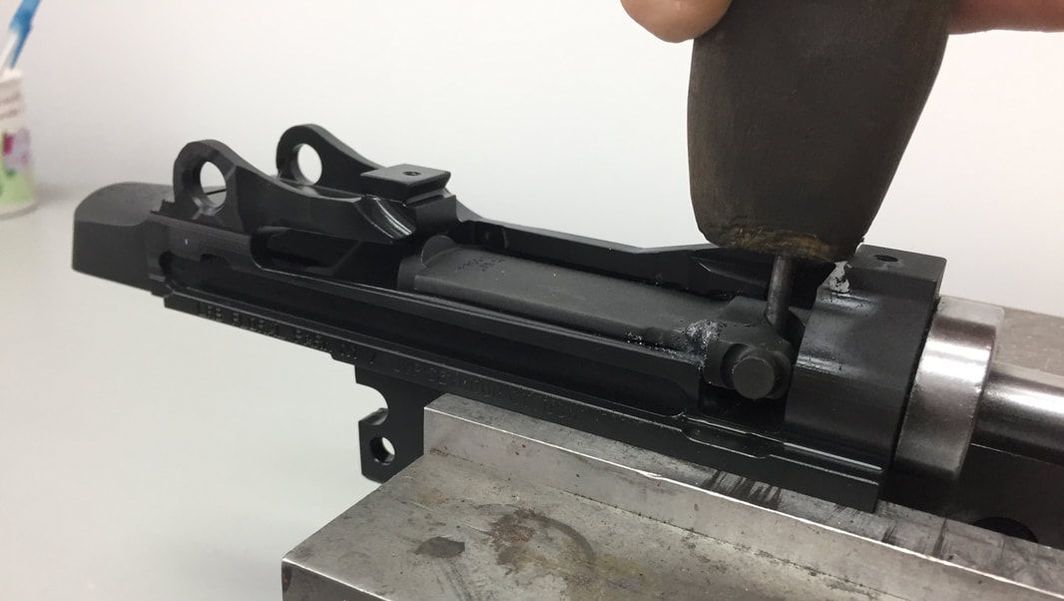
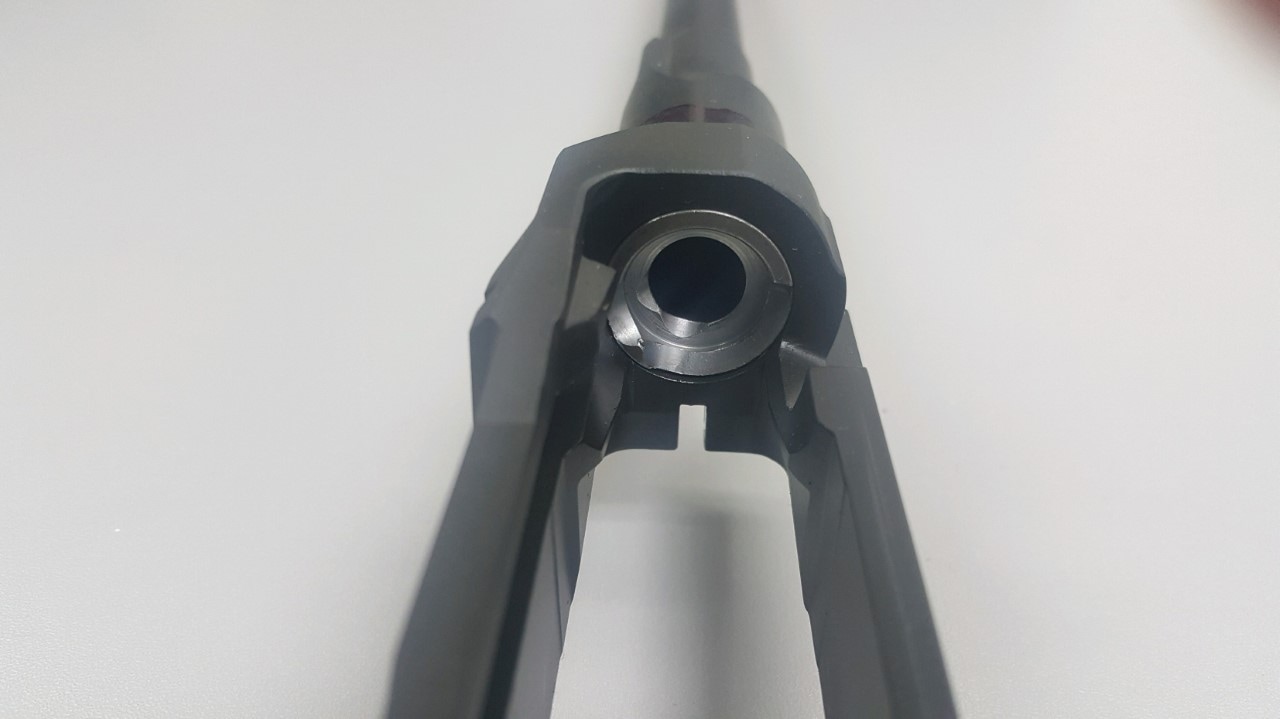
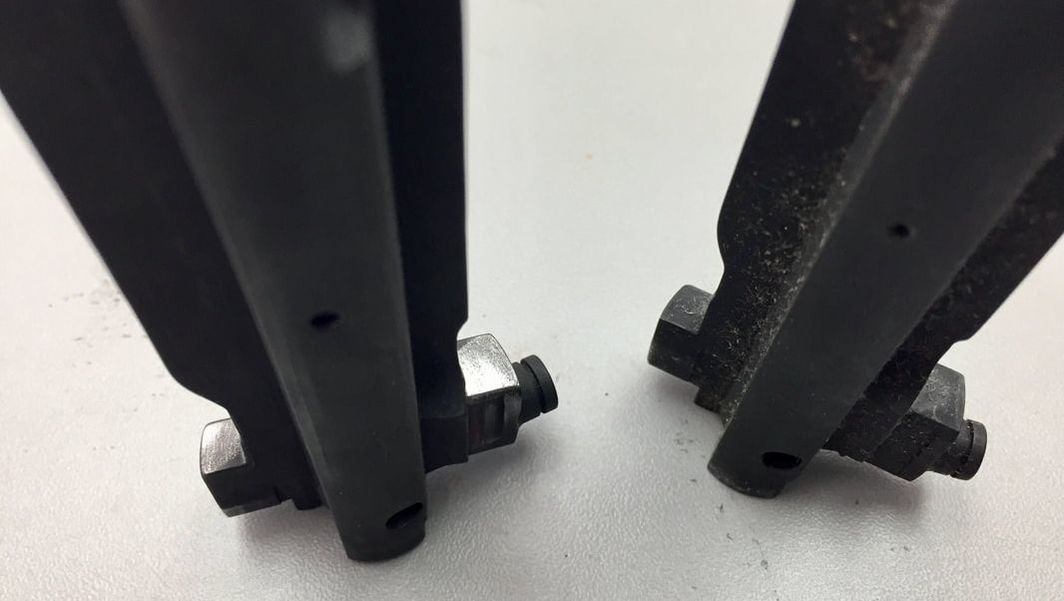
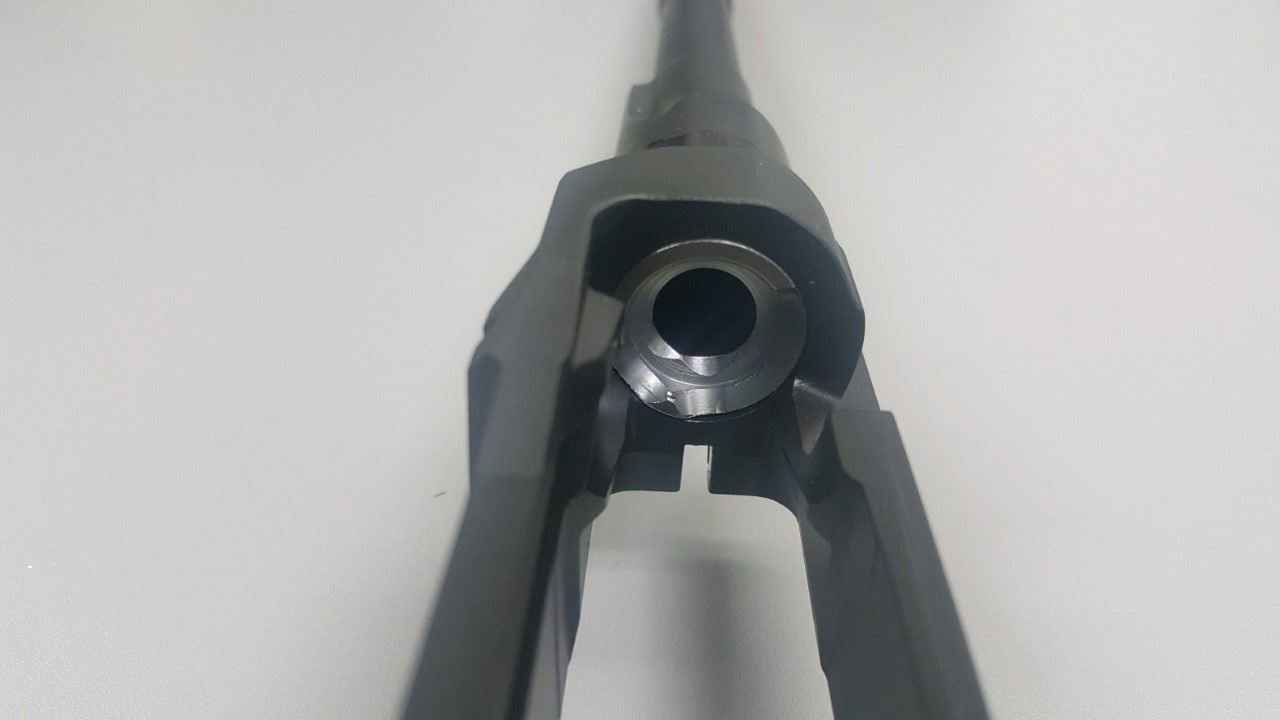
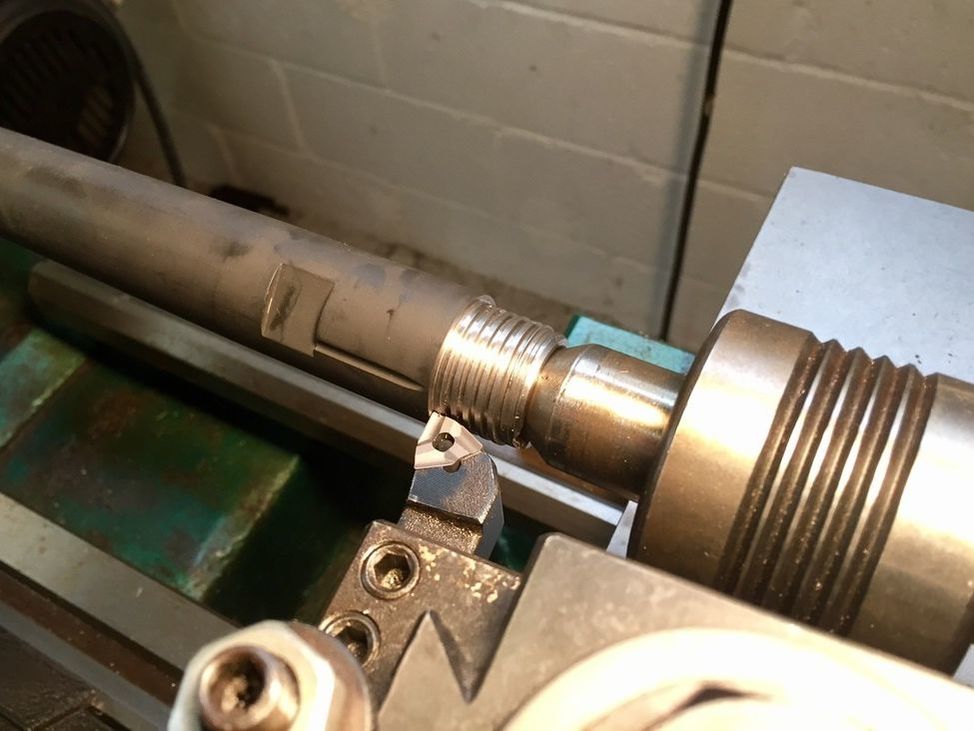
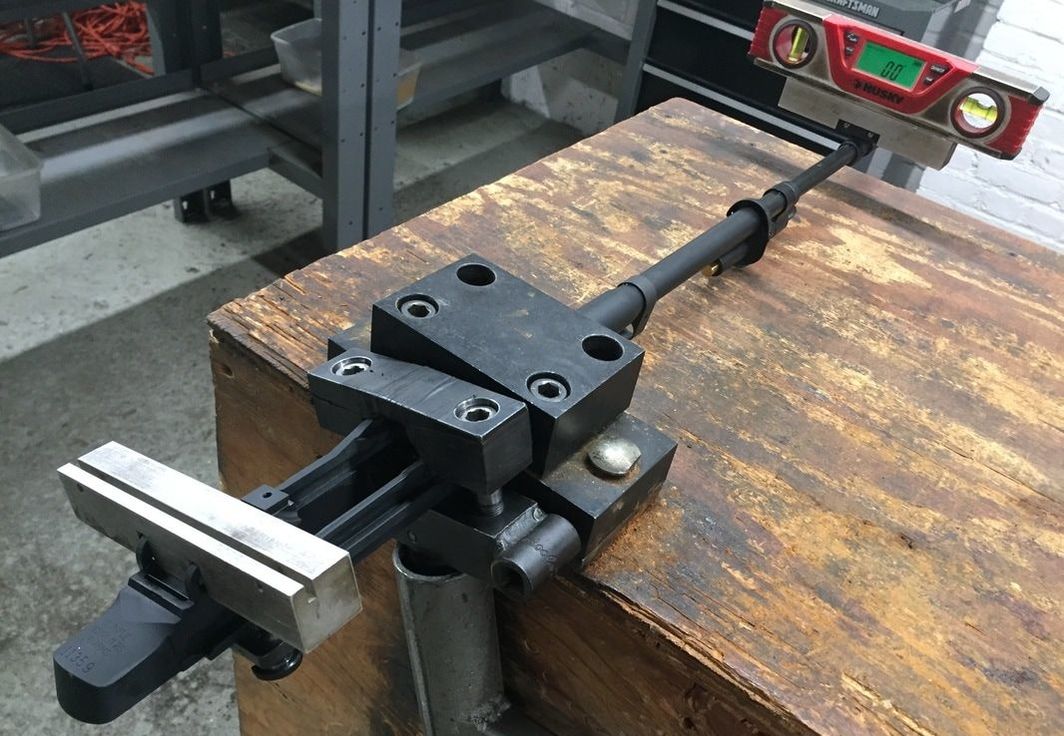
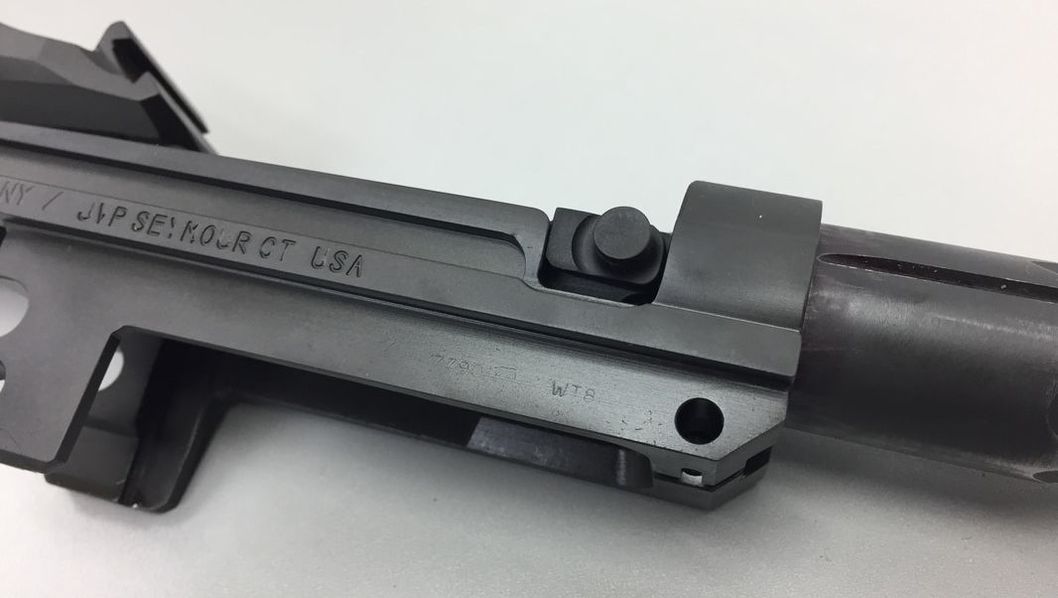
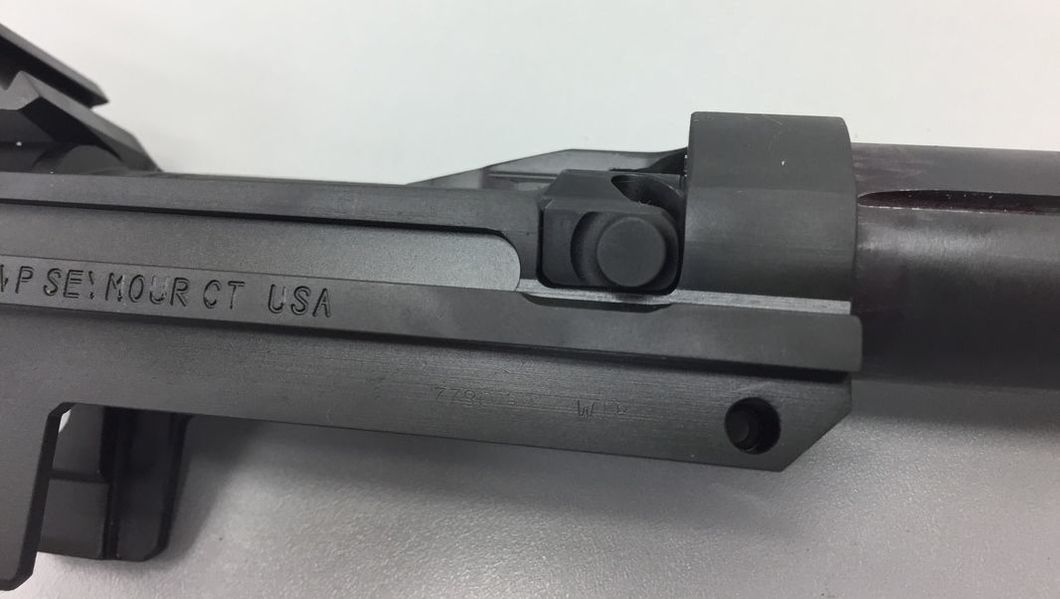
After bolt is lapped, barrel thread timing is checked by hand tightening barrel to receiver to determine if barrel shoulder requires cutting. Picture above right is correct position of feed ramps in chamber face with hand tight barrel. This barrel shoulder was cut with 1 degree undercut to allow proper crush against receiver face when torquing (60-80 lbs). Picture above left, is feed ramp position before barrel shoulder was cut.
|
|
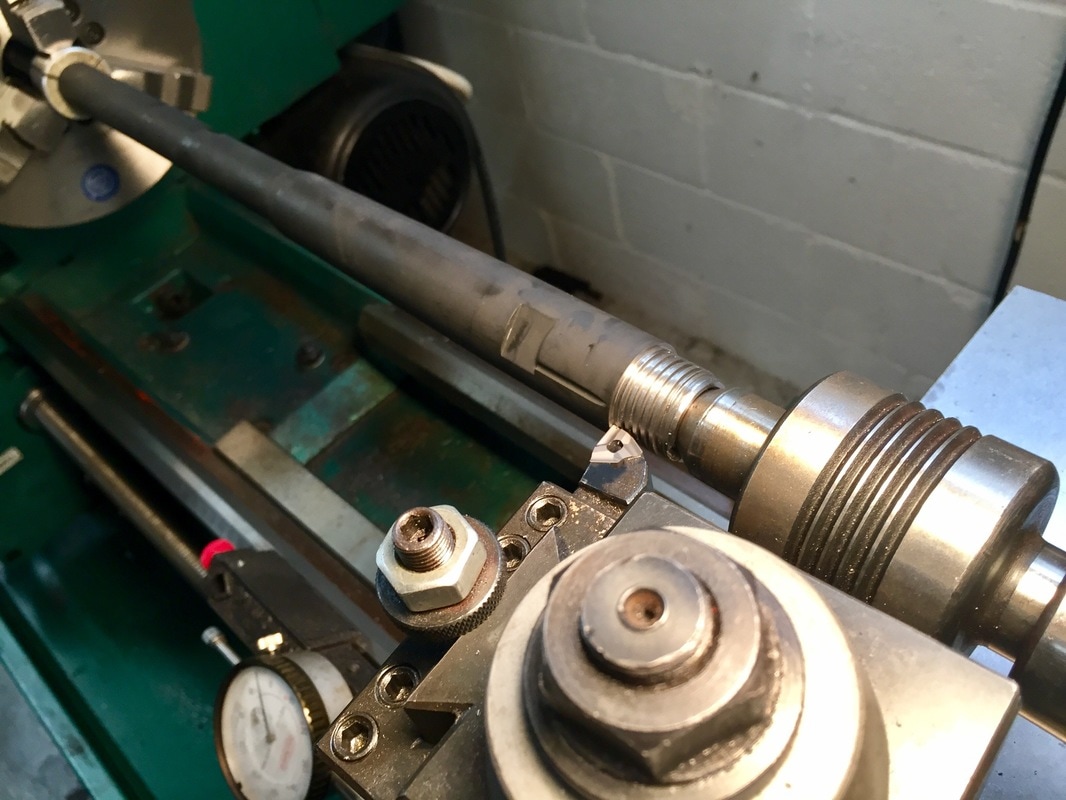
Cutting barrel shoulder to obtain correct timing. 1 degree undercut required for proper crush against receiver face.
|
|
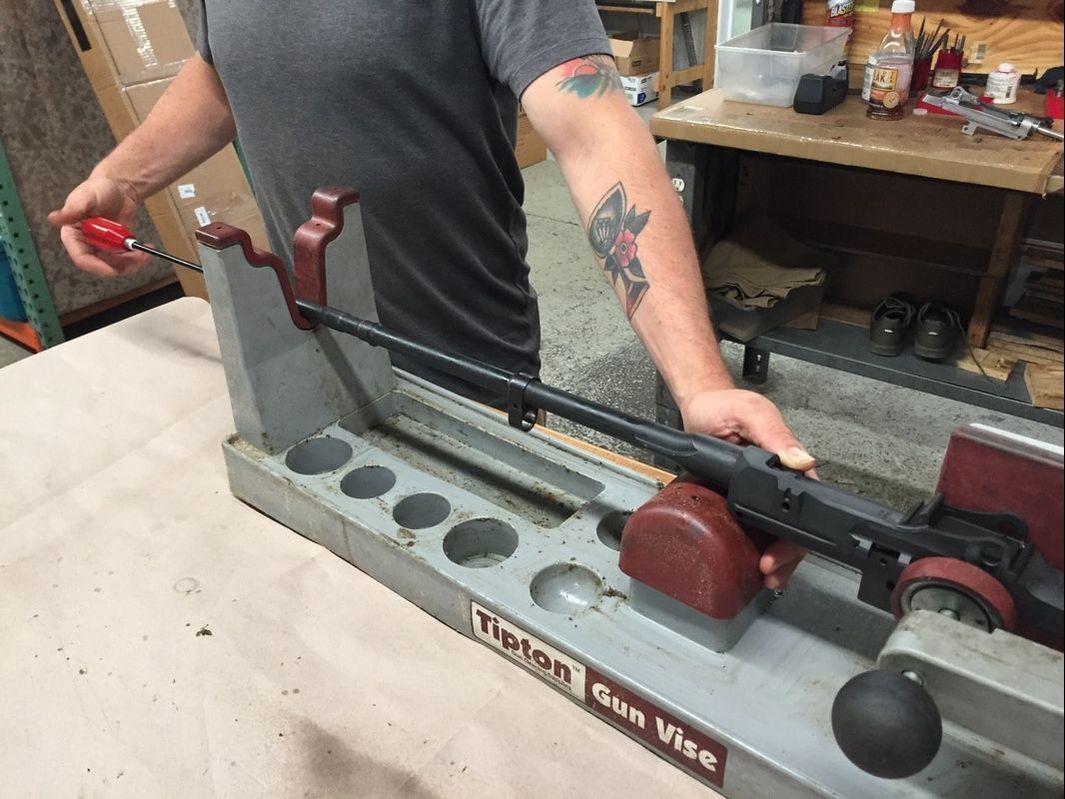
Barrel installation. We're working with an unchrome barrel which required the shoulder to be cut.
Note barrel is stationary, and receiver is spun onto barrel. ...NOT vise versa.
Note barrel is stationary, and receiver is spun onto barrel. ...NOT vise versa.
|
|
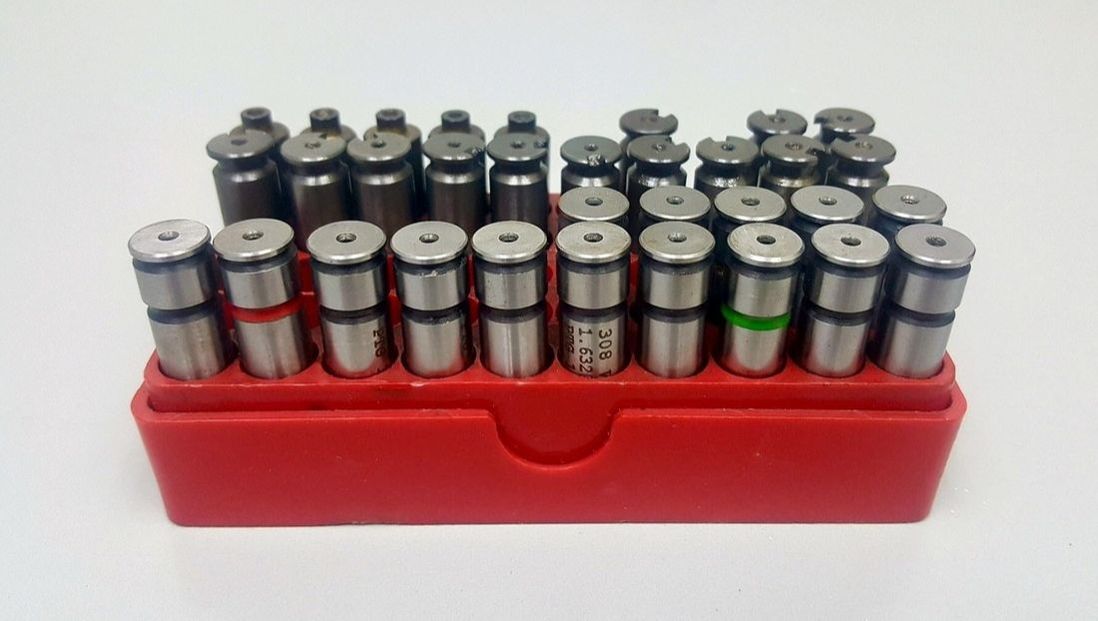
Headspace gauges ranging from 1.628 to 1.642
|

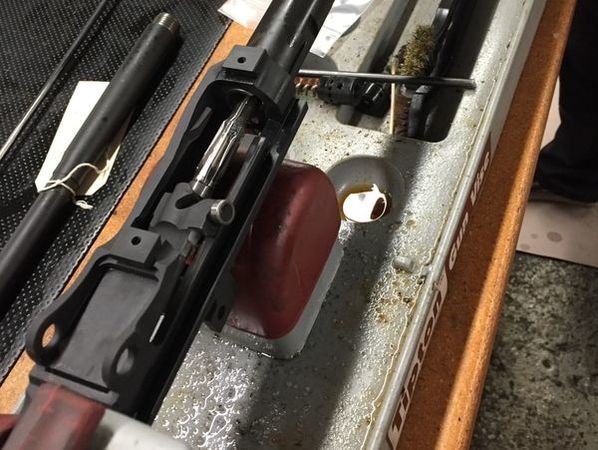
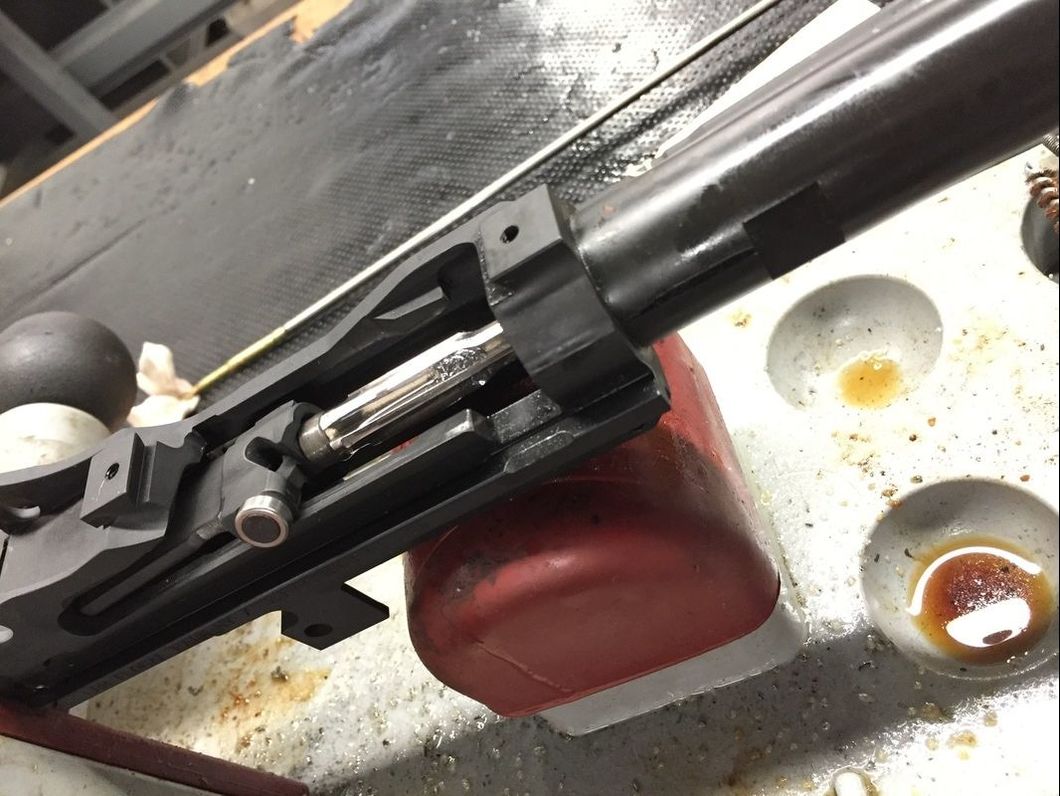
Using a gauge to check headspace prior to cutting chamber.
|
|
|
|
|
This barrel chamber is final cut to 1.632 headspace. Pictures above show before and after chamber is reamed to 1.632.
|
|
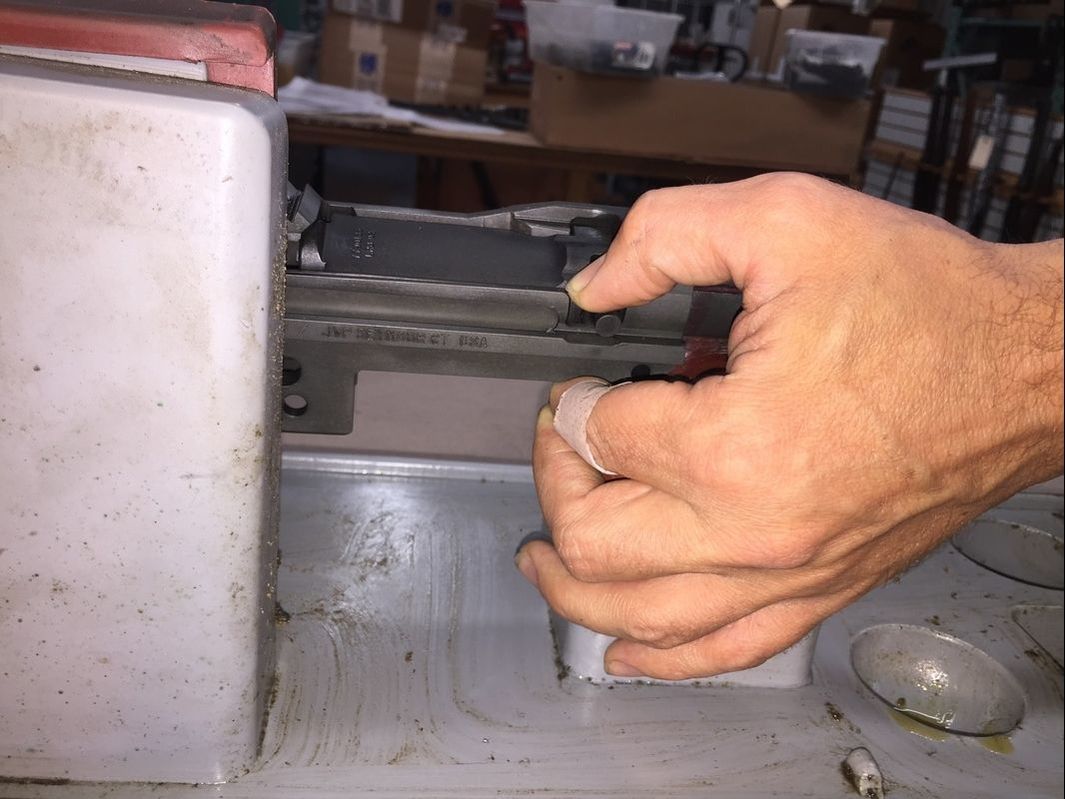
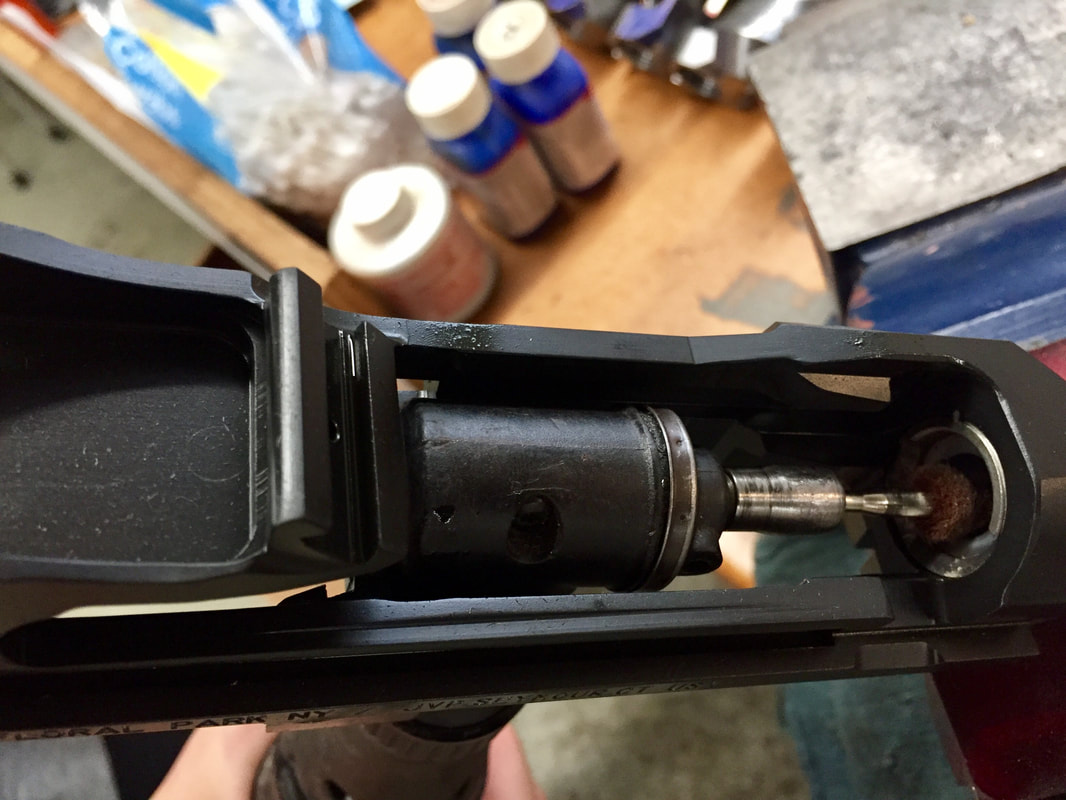
Chamber is polished after reaming to remove any tool marks.
|
|
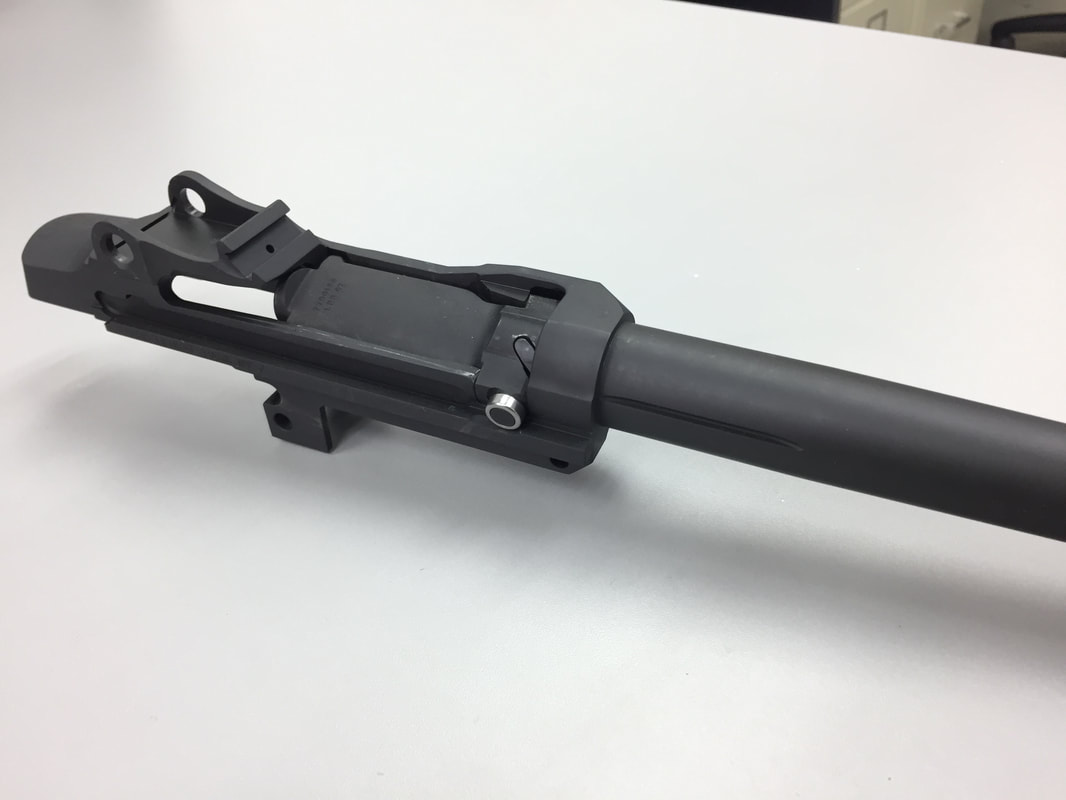
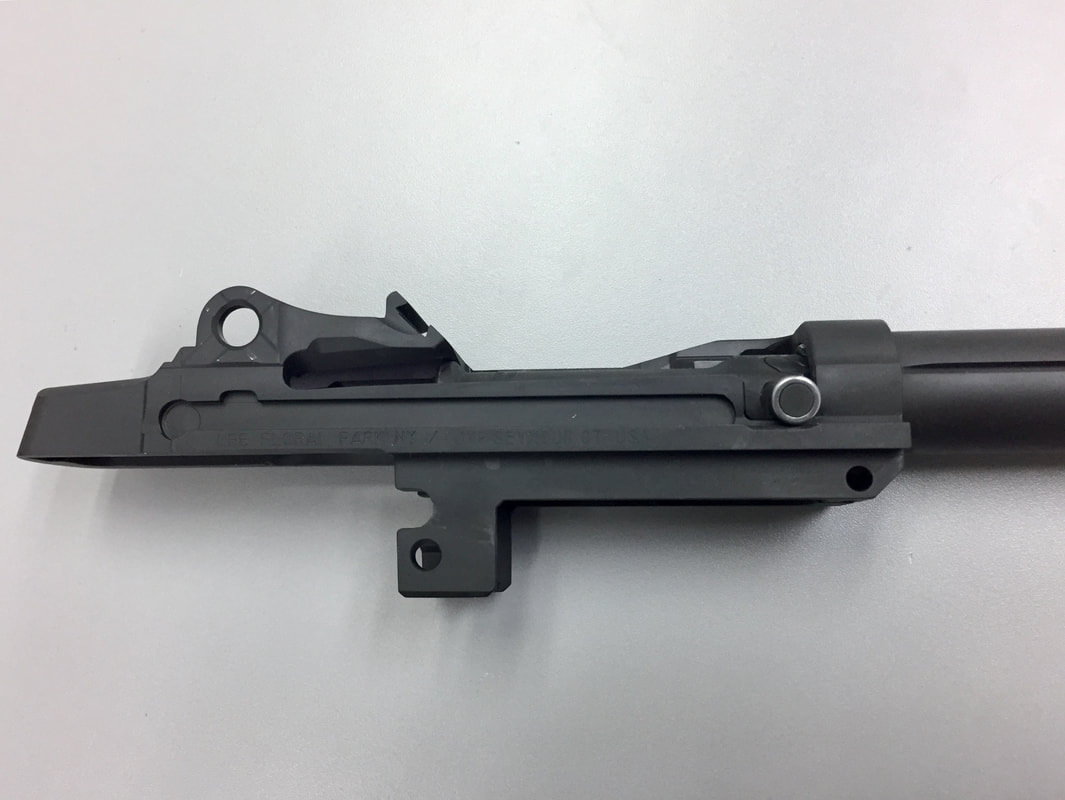
Done...we just completed our barreled action #1.